how to reseal granite
The Technical Guide to Resealing Granite: Protecting Your Investment
Granite, prized for its durability and aesthetic appeal, is a popular choice for countertops, flooring, and other architectural surfaces. While inherently strong, granite is a porous natural stone, making it susceptible to staining from liquids like oil, wine, and coffee. To maintain its beauty and longevity, regular sealing is crucial. This technical article provides a comprehensive guide to understanding the necessity of sealing, identifying when resealing is required, and executing the resealing process effectively.
1. Understanding Granite Porosity and the Need for Sealing
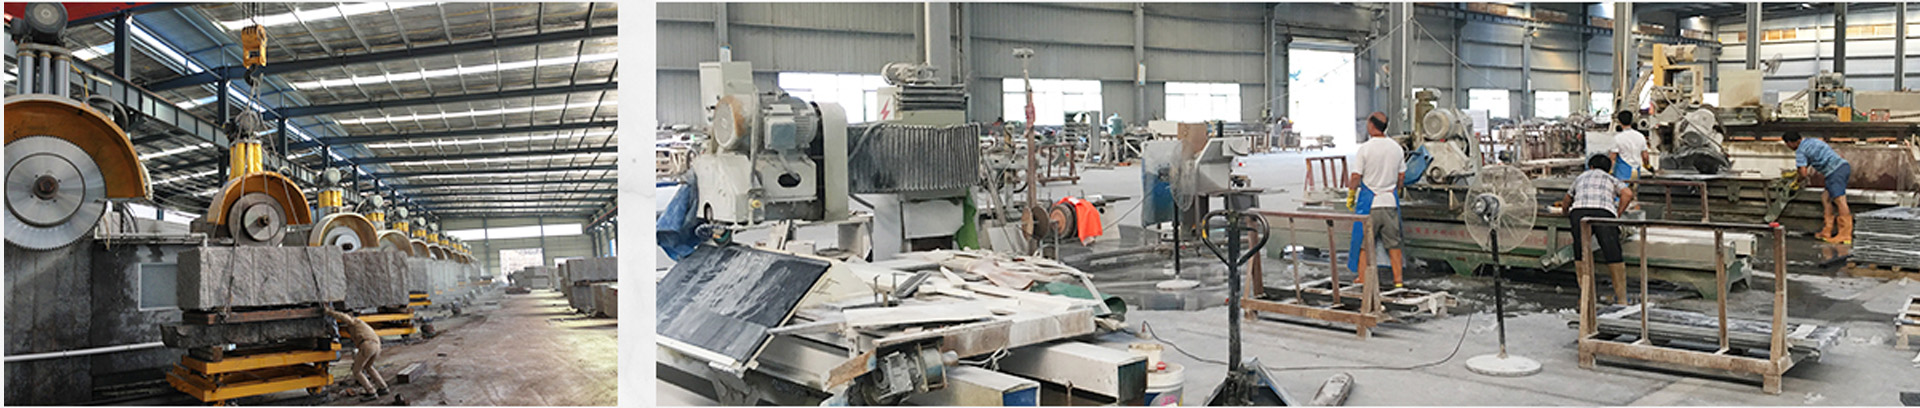
Granite's crystalline structure, formed through intense heat and pressure deep within the Earth, contains microscopic pores and fissures. While these features contribute to its unique veining and patterns, they also allow liquids to penetrate the stone's surface. This absorption can lead to unsightly stains that are often difficult or impossible to remove.  Mechanism of Absorption: Liquids with low surface tension can wick into the granite's pores through capillary action. The rate and depth of penetration depend on the porosity of the specific granite variety, the viscosity of the liquid, and the duration of contact.
Types of Stains: Oil-based stains (e.g., cooking oil, grease) tend to penetrate deeply and can be particularly challenging to remove. Water-based stains (e.g., coffee, wine) may initially remain closer to the surface but can become permanent if left untreated. Acidic substances (e.g., vinegar, citrus juice) can not only stain but also etch or dull the polished surface of some granites over prolonged exposure.
The Role of Sealant: A quality granite sealant is a penetrating liquid that fills these microscopic pores, creating a barrier that repels liquids and prevents them from being absorbed into the stone. This protective layer significantly reduces the risk of staining and makes cleaning much easier.
2. Identifying When Resealing is Necessary: The Water Test
Determining when your granite needs resealing is crucial for maintaining its protection. The most common and reliable method is the water test:
Procedure: Place a few drops of water (about the size of a quarter) on various areas of your granite surface, including high-traffic areas like around the sink and stovetop.
Observation: Observe how the water behaves over the next 5-10 minutes.
Properly Sealed Granite: The water droplets should bead up on the surface, forming distinct domes. They should remain in place without soaking in or leaving a dark mark.
Granite Needing Resealing: If the water droplets flatten out, spread, or begin to soak into the stone, leaving a dark, wet-looking area within a few minutes, it indicates that the existing sealant has worn down and the granite is becoming porous again. The faster the water absorbs, the more urgently resealing is required.
Frequency of Testing: It's recommended to perform the water test every 6-12 months, depending on the usage and wear of your granite surfaces. High-traffic areas may require more frequent testing.
3. Preparing for Resealing: Essential Steps
Before applying a new coat of sealant, proper preparation is essential to ensure optimal adhesion and effectiveness.
Thorough Cleaning: The granite surface must be completely clean and dry. Use a pH-neutral granite cleaner and a soft cloth or sponge to remove any dirt, dust, grease, or residue. Avoid using harsh chemicals, abrasive cleaners, or scouring pads that can damage the granite or existing sealant.
Technical Considerations: Any existing contaminants on the surface can prevent the new sealant from properly penetrating and bonding with the granite, compromising its effectiveness.
Stain Removal (if necessary): If there are existing stains, attempt to remove them before resealing. Various poultices and specialized stain removers are available for different types of stains. Ensure the granite is completely dry after any stain removal process.
Technical Considerations: Sealing over existing stains will trap them within the stone, making them even more difficult to remove later.
Drying Time: Allow the granite surface to dry completely for at least 24-48 hours after cleaning. Any residual moisture can interfere with the sealant's ability to penetrate and cure properly.
Technical Considerations: Moisture trapped beneath the sealant can lead to adhesion issues and potentially promote the growth of mold or mildew.
4. Selecting the Right Granite Sealer: Types and Considerations
Choosing the appropriate sealant is critical for long-lasting protection. Granite sealers are typically categorized as either penetrating/impregnating sealers or surface sealers (though penetrating sealers are generally recommended for granite).
Penetrating/Impregnating Sealers: These sealers are designed to soak into the granite's pores without forming a thick film on the surface. They work from within the stone, providing excellent stain resistance while preserving the natural look and feel of the granite. These are the preferred type of sealant for granite countertops and other surfaces where maintaining the natural appearance is important.
Technical Characteristics: Penetrating sealers are typically fluorocarbon or silicone-based. Fluorocarbon sealers generally offer better resistance to oil-based stains, while silicone-based sealers provide good water repellency.
Surface Sealers (Topical Sealers): These sealers form a protective layer on the surface of the granite. While they can offer good stain resistance, they can also alter the natural appearance and feel of the stone, potentially creating a glossy or plastic-like finish. They are generally less breathable than penetrating sealers and may be more prone to scratching or peeling over time. Surface sealers are not typically recommended for granite countertops.
Technical Characteristics: Surface sealers are often acrylic or polyurethane-based.
Key Considerations When Selecting a Sealer:
Type of Granite: Some more porous granites may benefit from a higher-quality, more concentrated sealant.
Intended Use: Countertops in kitchens and bathrooms require sealers with good resistance to both water and oil-based stains.
VOC Content: Consider sealers with low or zero Volatile Organic Compounds (VOCs) for better indoor air quality.
Durability and Lifespan: Research the expected lifespan of the sealant and choose a product with a good track record.
Mechanism of Absorption: Liquids with low surface tension can wick into the granite's pores through capillary action. The rate and depth of penetration depend on the porosity of the specific granite variety, the viscosity of the liquid, and the duration of contact.
Types of Stains: Oil-based stains (e.g., cooking oil, grease) tend to penetrate deeply and can be particularly challenging to remove. Water-based stains (e.g., coffee, wine) may initially remain closer to the surface but can become permanent if left untreated. Acidic substances (e.g., vinegar, citrus juice) can not only stain but also etch or dull the polished surface of some granites over prolonged exposure.
The Role of Sealant: A quality granite sealant is a penetrating liquid that fills these microscopic pores, creating a barrier that repels liquids and prevents them from being absorbed into the stone. This protective layer significantly reduces the risk of staining and makes cleaning much easier.
2. Identifying When Resealing is Necessary: The Water Test
Determining when your granite needs resealing is crucial for maintaining its protection. The most common and reliable method is the water test:
Procedure: Place a few drops of water (about the size of a quarter) on various areas of your granite surface, including high-traffic areas like around the sink and stovetop.
Observation: Observe how the water behaves over the next 5-10 minutes.
Properly Sealed Granite: The water droplets should bead up on the surface, forming distinct domes. They should remain in place without soaking in or leaving a dark mark.
Granite Needing Resealing: If the water droplets flatten out, spread, or begin to soak into the stone, leaving a dark, wet-looking area within a few minutes, it indicates that the existing sealant has worn down and the granite is becoming porous again. The faster the water absorbs, the more urgently resealing is required.
Frequency of Testing: It's recommended to perform the water test every 6-12 months, depending on the usage and wear of your granite surfaces. High-traffic areas may require more frequent testing.
3. Preparing for Resealing: Essential Steps
Before applying a new coat of sealant, proper preparation is essential to ensure optimal adhesion and effectiveness.
Thorough Cleaning: The granite surface must be completely clean and dry. Use a pH-neutral granite cleaner and a soft cloth or sponge to remove any dirt, dust, grease, or residue. Avoid using harsh chemicals, abrasive cleaners, or scouring pads that can damage the granite or existing sealant.
Technical Considerations: Any existing contaminants on the surface can prevent the new sealant from properly penetrating and bonding with the granite, compromising its effectiveness.
Stain Removal (if necessary): If there are existing stains, attempt to remove them before resealing. Various poultices and specialized stain removers are available for different types of stains. Ensure the granite is completely dry after any stain removal process.
Technical Considerations: Sealing over existing stains will trap them within the stone, making them even more difficult to remove later.
Stain Removal (if necessary): If there are existing stains, attempt to remove them before resealing. Various poultices and specialized stain removers are available for different types of stains. Ensure the granite is completely dry after any stain removal process.
Technical Considerations: Sealing over existing stains will trap them within the stone, making them even more difficult to remove later.
Drying Time: Allow the granite surface to dry completely for at least 24-48 hours after cleaning. Any residual moisture can interfere with the sealant's ability to penetrate and cure properly.
Technical Considerations: Moisture trapped beneath the sealant can lead to adhesion issues and potentially promote the growth of mold or mildew.
4. Selecting the Right Granite Sealer: Types and Considerations
Choosing the appropriate sealant is critical for long-lasting protection. Granite sealers are typically categorized as either penetrating/impregnating sealers or surface sealers (though penetrating sealers are generally recommended for granite).
Penetrating/Impregnating Sealers: These sealers are designed to soak into the granite's pores without forming a thick film on the surface. They work from within the stone, providing excellent stain resistance while preserving the natural look and feel of the granite. These are the preferred type of sealant for granite countertops and other surfaces where maintaining the natural appearance is important.
Technical Characteristics: Penetrating sealers are typically fluorocarbon or silicone-based. Fluorocarbon sealers generally offer better resistance to oil-based stains, while silicone-based sealers provide good water repellency.
Surface Sealers (Topical Sealers): These sealers form a protective layer on the surface of the granite. While they can offer good stain resistance, they can also alter the natural appearance and feel of the stone, potentially creating a glossy or plastic-like finish. They are generally less breathable than penetrating sealers and may be more prone to scratching or peeling over time. Surface sealers are not typically recommended for granite countertops.
Technical Characteristics: Surface sealers are often acrylic or polyurethane-based.
Key Considerations When Selecting a Sealer:
Type of Granite: Some more porous granites may benefit from a higher-quality, more concentrated sealant.
Intended Use: Countertops in kitchens and bathrooms require sealers with good resistance to both water and oil-based stains.
VOC Content: Consider sealers with low or zero Volatile Organic Compounds (VOCs) for better indoor air quality.
Durability and Lifespan: Research the expected lifespan of the sealant and choose a product with a good track record.
Manufacturer's Instructions: Always adhere strictly to the manufacturer's application guidelines.
5. The Resealing Process: Step-by-Step Guide
Once the granite is clean, dry, and you have selected the appropriate sealer, follow these steps for proper application:
Ensure Adequate Ventilation: Work in a well-ventilated area as some sealers can have strong fumes.
Protect Surrounding Areas: Cover any adjacent surfaces, such as cabinets or backsplashes, with plastic sheeting or drop cloths to prevent accidental sealant application.
Apply the Sealer Liberally: Using a clean, lint-free cloth, applicator pad, or brush (as recommended by the manufacturer), apply a generous and even coat of the sealant to the entire granite surface. Ensure all areas are saturated.
Technical Tip: For larger surfaces, work in manageable sections to prevent the sealant from drying out too quickly.
Allow Penetration Time: Let the sealant dwell on the surface for the time specified by the manufacturer (typically 5-15 minutes). This allows the sealant to penetrate the granite's pores.
Technical Consideration: The penetration time may vary depending on the porosity of the granite and the specific sealant used.
Remove Excess Sealer: After the specified dwell time, use a clean, dry, lint-free cloth to thoroughly wipe away any excess sealant from the surface. Failure to remove excess sealant can result in a sticky or hazy residue that is difficult to remove later.
Technical Tip: Wipe in consistent strokes to avoid streaks. Multiple passes with clean cloths may be necessary to remove all residue.
Apply a Second Coat (Optional but Recommended): For enhanced protection, especially in high-traffic areas or with more porous granites, a second coat of sealant can be applied following the same procedure after the first coat has partially dried (as per manufacturer instructions).
Curing Time: Allow the sealant to cure completely according to the manufacturer's recommendations. This typically takes several hours, often 24-72 hours. During the curing period, avoid placing anything on the sealed surface and prevent any liquids from coming into contact with it.
Technical Consideration: The sealant needs sufficient time to fully polymerize and form a durable protective barrier. Premature contact with liquids can disrupt the curing process and compromise the sealant's effectiveness.
6. Post-Resealing Maintenance and Best Practices
Once the granite has been properly resealed, following these maintenance tips will help prolong the life of the sealant and keep your granite looking its best:
Clean Regularly with pH-Neutral Cleaners: Avoid using acidic or alkaline cleaners, as these can gradually break down the sealant over time. Opt for cleaners specifically formulated for natural stone or a mild dish soap and water solution.
Wipe Up Spills Immediately: Promptly wipe up any spills, especially acidic liquids, oil, or strongly pigmented substances, before they have a chance to penetrate the sealant.
Use Cutting Boards and Coasters: Protect your granite surfaces from scratches and etching by using cutting boards for food preparation and coasters under beverages.
Avoid Placing Hot Items Directly on the Surface: While granite is heat-resistant, extreme temperature changes can potentially weaken the sealant over time. Use trivets or hot pads under hot pots and pans.
Perform the Water Test Regularly: Continue to perform the water test every 6-12 months to monitor the effectiveness of the sealant and determine when resealing is needed again.
7. Troubleshooting Common Sealing Issues
Sticky Residue: This usually occurs when excess sealant is not thoroughly wiped away. Try gently wiping the surface with a clean cloth dampened with mineral spirits (test in an inconspicuous area first) and then buff dry with a clean cloth.
Hazy Appearance: This can also be due to excess sealant or the use of an incompatible sealant. Follow the same procedure as for sticky residue.
Uneven Sealer Application: Ensure even and thorough application of the sealant. If some areas appear less protected, you may need to apply an additional coat to those specific areas after the initial coat has fully cured.
Sealer Not Beading Water: This indicates that the sealant has not been applied correctly or has already worn down. Re-evaluate your cleaning practices and ensure you followed the proper application procedures during resealing. If the issue persists, the granite may need to be cleaned thoroughly and resealed.
Conclusion: Investing in Long-Term Granite Protection
Resealing granite is a straightforward yet crucial maintenance task that protects your investment and preserves the beauty and longevity of your natural stone surfaces. By understanding the principles of granite porosity, identifying the signs that resealing is necessary, selecting the appropriate sealant, and following the proper application techniques, you can effectively safeguard your granite from staining and maintain its pristine condition for years to come. Regular resealing, coupled with proper daily care, is the key to enjoying the enduring elegance and durability of your granite surfaces.